Using Python to Convert Images to WEBP
See Python: Tips and Tricks for similar articles.
On each of our course pages, we include an image like this one that is meant to represent the course:

The image is in WebP format.
This one was converted from the following png file:
The WebP file (4 KB) is nine times smaller than the png file (36 KB).
Although Google offers conversion tools for all major operating systems, you can easily roll your own with Python and Pillow. Here’s how:
- Create a webp folder for storing your code.
- Create and activate a virtual environment.
- Install Pillow with pip:
pip install Pillow - Create a subfolder within the webp folder called images and put some png files in there. You can download these images if you don’t have any handy.
- Create a convert.py file within the webp folder. This is where you’ll write the code.
- Import
Pathfrompathlib:
Our function will take a sourcefrom pathlib import PathPathto the png file and return a destinationPathto the WebP file. - Import
ImagefromPIL:
This is what we will use to do the conversion.from PIL import Image - Write the
convert_to_webp()function:def convert_to_webp(source): """Convert image to WebP. Args: source (pathlib.Path): Path to source image Returns: pathlib.Path: path to new image """ destination = source.with_suffix(".webp") image = Image.open(source) # Open image image.save(destination, format="webp") # Convert image to webp return destination- The
with_suffix()method of aPathobject replaces the current suffix with a new suffix. - The conversion process is just two steps:
- Open the image with
Image.open()passing in the source. - Save the image with
Image.save()passing in the destination and the format.
- Open the image with
- The
That’s all there is to it. You can call the function like this:
convert_to_webp(Path("images/PYT138.png"))main() function for converting
all the images in the images folder:
from pathlib import Path
from PIL import Image


def convert_to_webp(source):
    """Convert image to webp.

    Args:
        source (pathlib.Path): Path to source image

    Returns:
        pathlib.Path: path to new image
    """
    destination = source.with_suffix(".webp")

    image = Image.open(source)  # Open image
    image.save(destination, format="webp")  # Convert image to webp

    return destination


def main():
    paths = Path("images").glob("**/*.png")
    for path in paths:
        webp_path = convert_to_webp(path)
        print(webp_path)


main()
Converting to WebP in Django Admin
On our site, we provide a fallback image using code like this, which instructs the browser to use the first supported image type:
<picture>
    <source srcset="PYT138.webp" type="image/webp">
    <source srcset="PYT138.png" type="image/png">
    <img src="PYT138.png" alt="Introduction to Python 3 Training">
</picture>
In Django admin, we only upload the png file and we use code similar to that described above to create a WebP file:
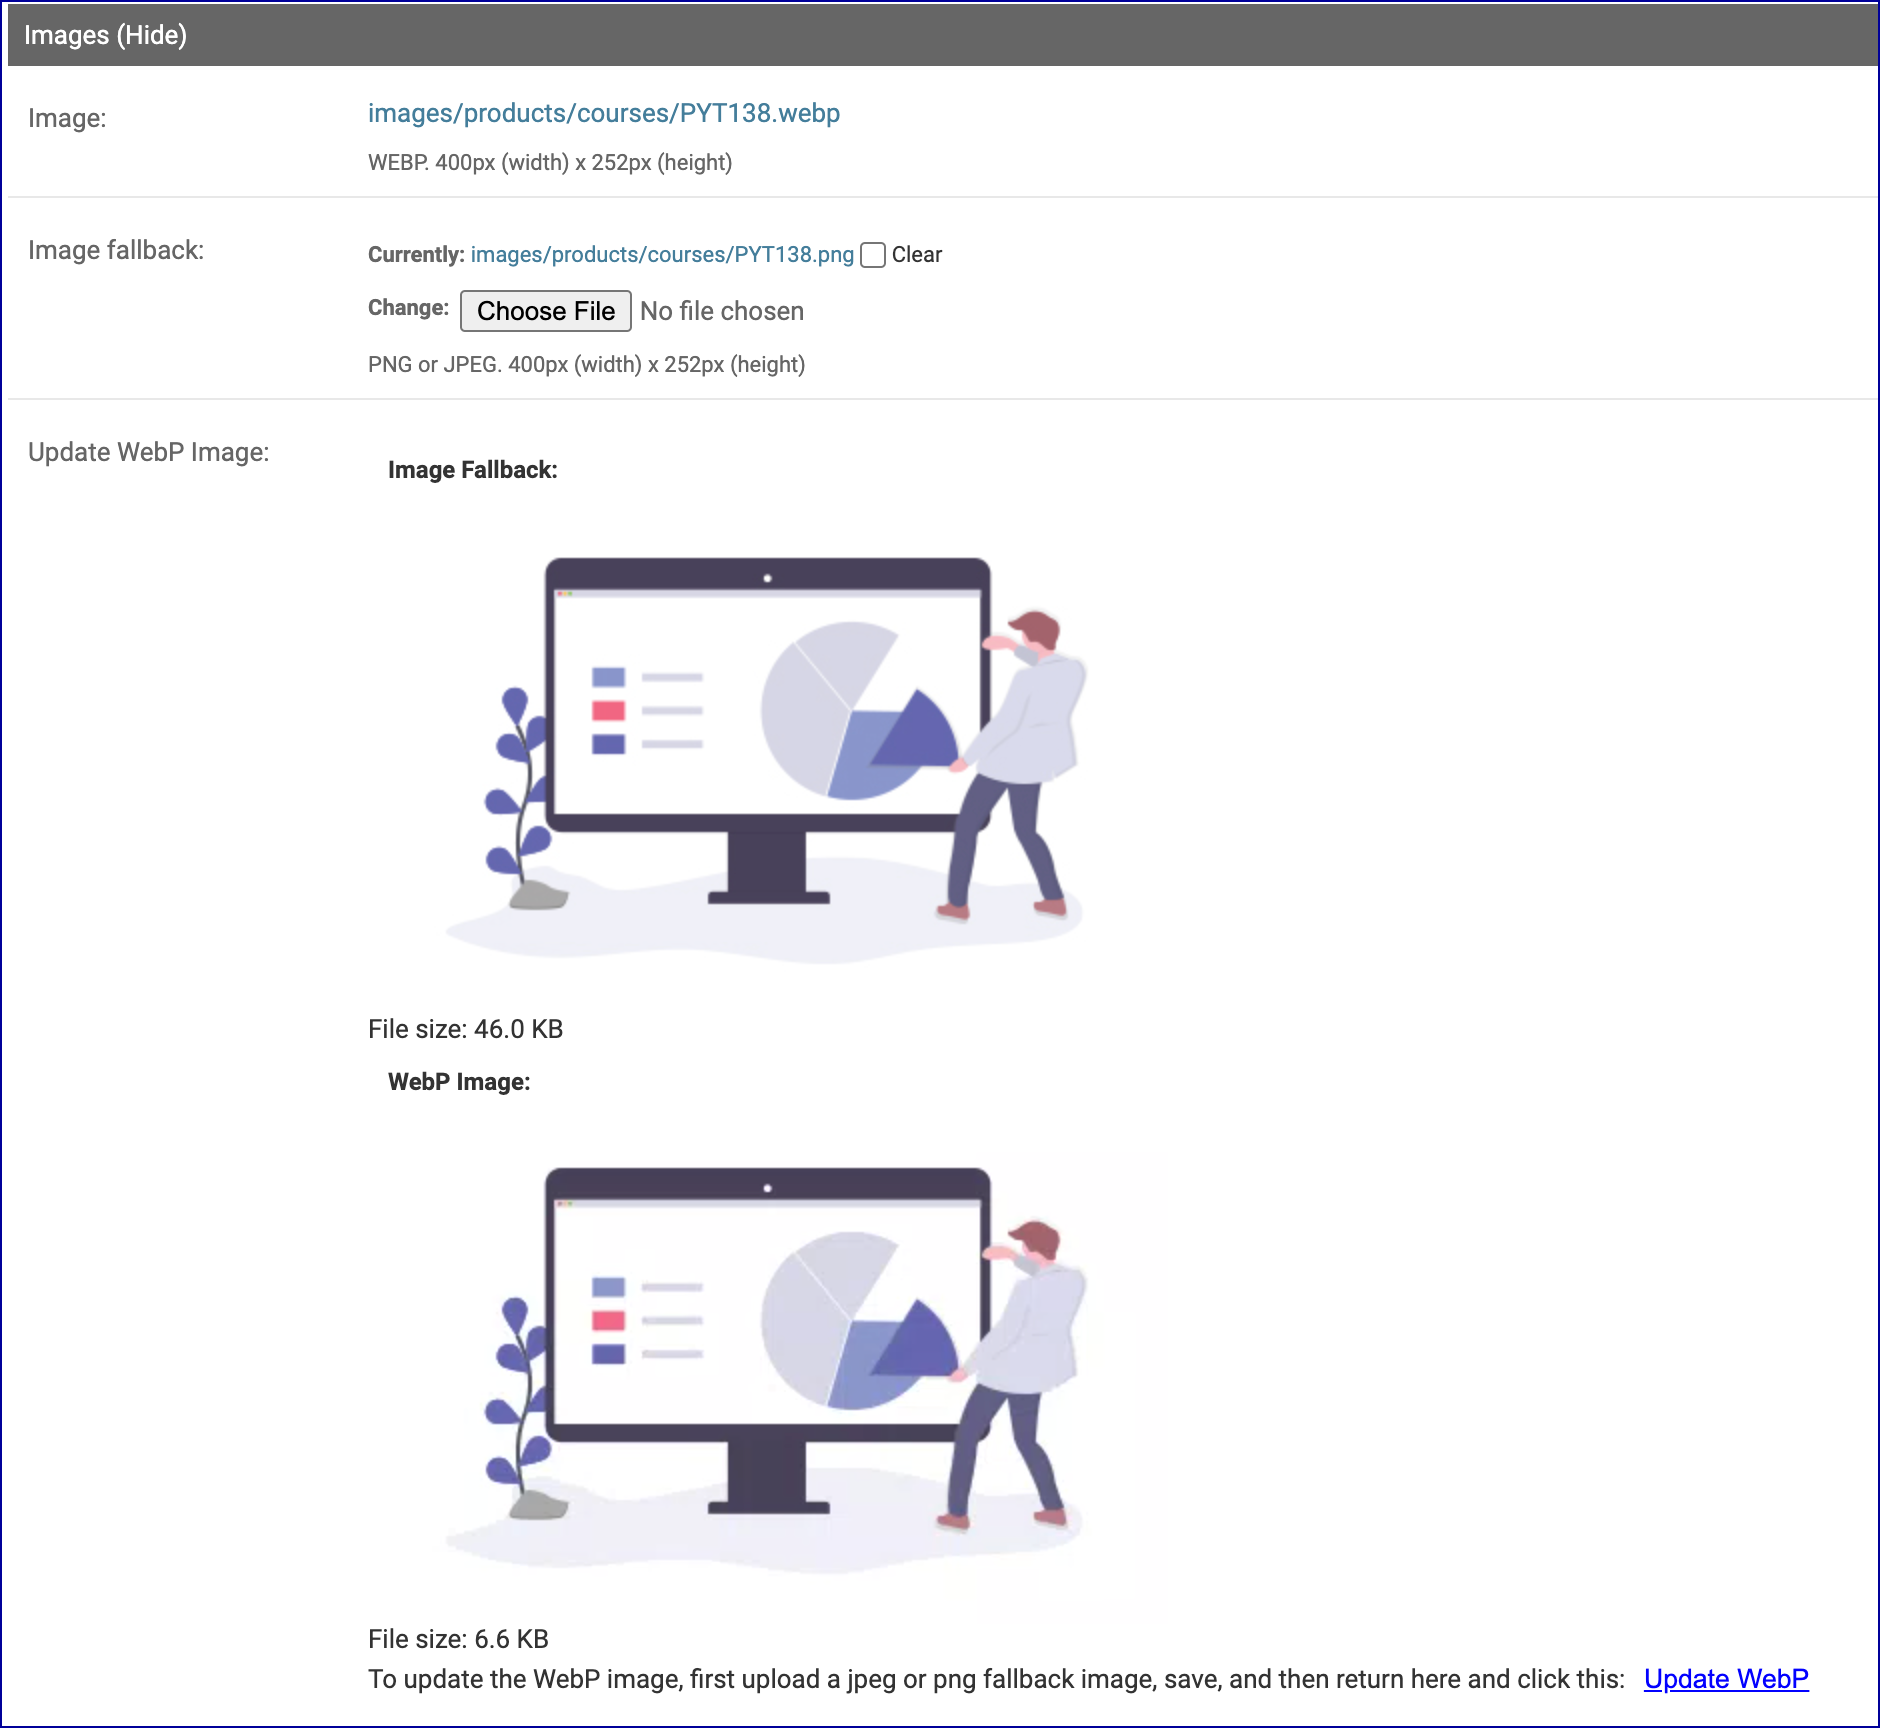 The Update WebP link shown in the bottom right of the image uses Ajax to call a view that converts the image.