How to Create Image Slices Using Existing Guides in Adobe Photoshop
See Adobe Photoshop: Tips and Tricks for similar articles.
Slices allow one large image to be divided into several smaller ones, which will load faster, and allow for layering when creating the design. Once slices are created, there are options which allow you to name individual slices and also create hyperlinks. There are various methods for creating slices in Photoshop. The technique below shows how to create slices using existing guides.
This feature works the same in all recent versions of Adobe Photoshop: CS5, CS6, and Creative Cloud (CC).
- Go to the Toolbar, click and hold on the Crop Tool, and choose the Slice Tool.

- In the Options Bar, click the Slices from Guides button.

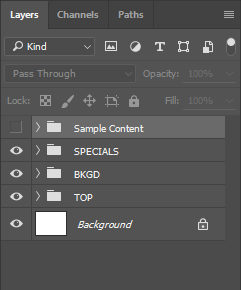
- In the Layers Panel, turn off the visibility of any layers that need to be excluded.
- Go back to the Toolbar and switch to the Slice Select Tool.

- Go to the image and click on slice 1 (at the upper left). Make sure this is the only slice selected (it should be the only one with an outline).
- Now right-click (PC) / Control-click (Mac) on slice 1 and choose Edit Slice Options.
- In the dialog box, name the slice, type the web address into the URL field, and enter text for the Alt Tag field. Click OK. Repeat as needed to slice your entire image.