How to Change Color in Parts of an Image in Adobe Photoshop
See Adobe Photoshop: Tips and Tricks for similar articles.
The Replace Color adjustment in Photoshop is a simple way to make global changes to a specific color range within an image without having to create a selection marquee first.
- In this image of an old storefront, the color of the facade needs to be changed from red to green.

- Before changing the color, duplicate the layer by going to the Layers Panel, right-clicking (PC) / Ctrl-clicking (Mac) on the layer, and choosing Duplicate Layer.

- Name the layer in the next dialog box and click OK.

- Go to the Image menu, then to Adjustments, and choose Replace Color.
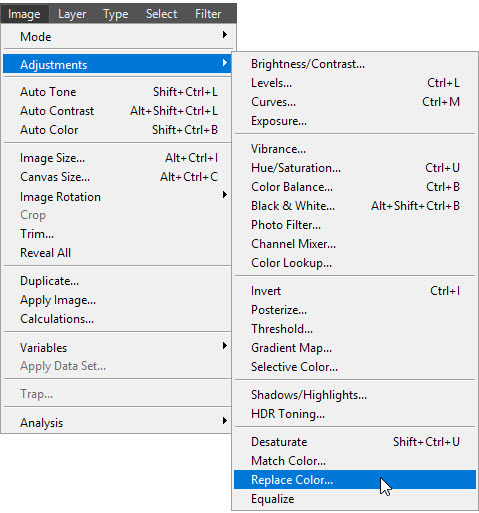
- When the dialog box opens, the first step is to sample the color in the image you want to replace by clicking on it.

- Now go to the Hue, Saturation, and Lightness controls to set the color you want to use as a replacement. You can also click the color swatch to open the Color Picker if you prefer.

- Fuzziness controls the tolerance, or range of color close to what you sampled on, that will be replaced. With Preview checked, experiment with moving the slider to see how the color is affected in the image. When satisfied, click OK.

- Because the layer was duplicated before changing the color, the color replacement could be refined further by masking or erasing selected portions of the duplicate layer.