Learn the Very Basics of CSS in One Minute
See CSS: Tips and Tricks for similar articles.
You have already learned HTML, and you have heard that Cascading Style Sheets (or CSS) is used for styling pages, but haven’t yet learned CSS. Take a minute to learn the basics (the very basics) of CSS.
CSS Properties and Values
Using CSS, you style your HTML by assigning values to style properties for the HTML elements on the page. The quickest way to style an element is to place property-value pairs (called declarations) in the style attribute of the element itself. For example, the following code will make the paragraph dark green and italicized:
<p style="color:darkgreen; font-style:italic;">Hello, world!</p>Notice that the CSS declarations are separated with semi-colons.
Learning CSS consists largely of learning the properties and values, and how to apply them. See Mozilla’s CSS Properties Reference for documentation on the individual properties.
When you use the style attribute like this, you are creating an inline style. Creating inline styles is often discouraged, because you cannot reuse the styles and, because of this, it will be hard to maintain consistent styles across the site, or even the page.
CSS Rules
CSS rules can be reused, which promotes consistency and simplifies maintenance. A rule is made up of a selector and a set of declarations:
selector {
      property: value;
      property: value;
}
For example:
p {
      color: darkgreen;
      font-style: italic;
}
In the preceding code, the selector is p. That will make the rule apply to all p elements. This is a simple selector. They can get much more specific, selecting elements based on their id, class, attributes and attribute values, and position within the structure of the page. See Mozilla’s CSS Selectors Reference for documentation on CSS selectors.
Embedded Style Sheets
So, where do you put these rules. One option is to put them in an embedded style sheet using the style tag:
<style>
    p {
        color: darkgreen;
        font-style: italic;
    }
</style>
Usually, the style element will go in the head element, but this is not required. Rules defined in an embedded style sheet apply to matching elements in the same HTML document.
External Style Sheets
Generally, it’s considered a better option to separate the CSS from the HTML entirely by placing the CSS rules in a separate file with a .css extension. That document will consist only of CSS. You will then link to the CSS file from your HTML file using a link element, like this:
<link rel="stylesheet" href="styles/my-style-sheet.css">Usually, link elements will go in the head element, but again, this is not required.
Your minute is up!
Congrats! You now know the basics (admittedly, the very basics) of CSS, and you’re ready to dive in deeper.
To get started applying your new knowledge of CSS, give this a try:
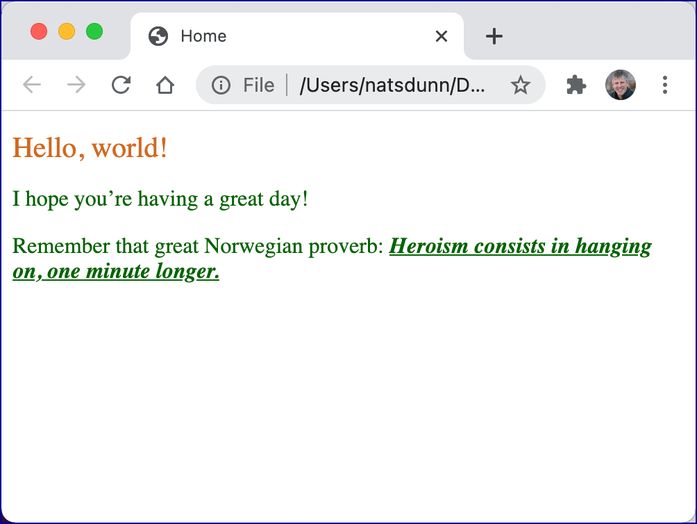
- Create a new HTML file named home.html with the following code:
<!DOCTYPE html> <html lang="en"> <head> <meta charset="UTF-8"> <meta name="viewport" content="width=device-width, initial-scale=1"> <link rel="stylesheet" href="styles.css"> <title>Home</title> </head> <body> <h1>Hello, world!</h1> <p>I hope you’re having a great day!</p> <p>Remember that great Norwegian proverb: <em>Heroism consists in hanging on, one minute longer.</em></p> </body> </html> - Create a new CSS file named styles.css in the same directory with the following code:
h1 { color: chocolate; font-size: 1.3em; font-weight: normal; } p { color: darkgreen; } em { font-weight: bold; text-decoration: underline; } - Save both documents and open the HTML document in your browser. It should look something like this: