How to Customize the Ribbon in Office 365
In Word 365, Excel 365, PowerPoint 365, and other Office 365 products (and earlier versions of Office too), you can customize the Ribbon to make it easier for you to find the commands that you use most frequently. For example, you might want to move commands that you use a lot to the Home tab. You can can also change the order in which tabs appear, and even add your own custom tabs. In this article, we will show you how using Word 365 as an example. The process is the same in the other Office products.
Customize Ribbon Options
The settings for customizing the Ribbon are in the Word Options dialog. You can get to those
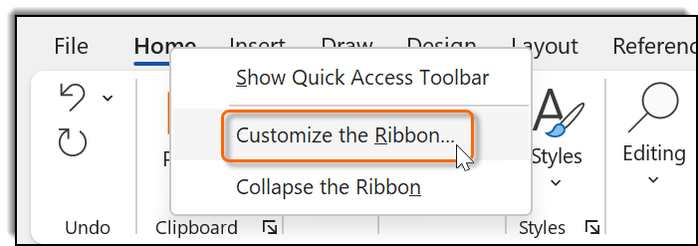
settings in two ways. The easiest way is to right-click any empty space on the Ribbon and select Customize the
Ribbon…:
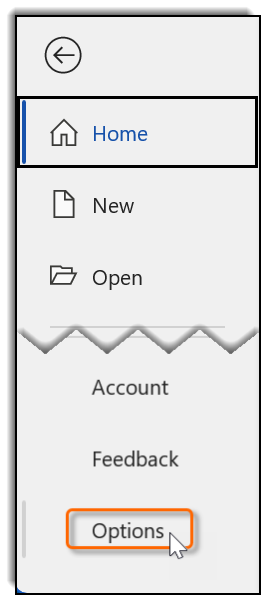
 The other way to get to the Ribbon customization options is to:
- Enter Backstage view by clicking File.
- Click Options:
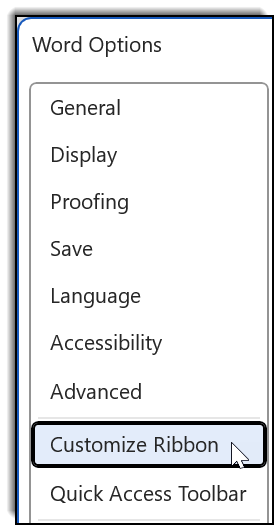
- Select Customize Ribbon:
The commands appear on the left and the tabs appear on the right:
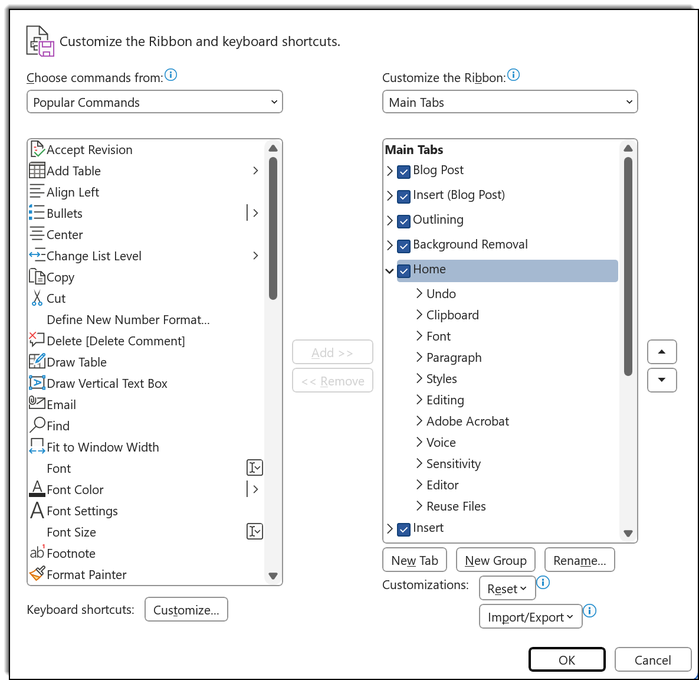
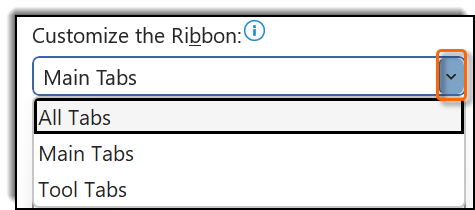
By default, only the main tabs show up on the right, but you can change that by selecting All Tabs or
Tool Tabs from the dropdown at the top:
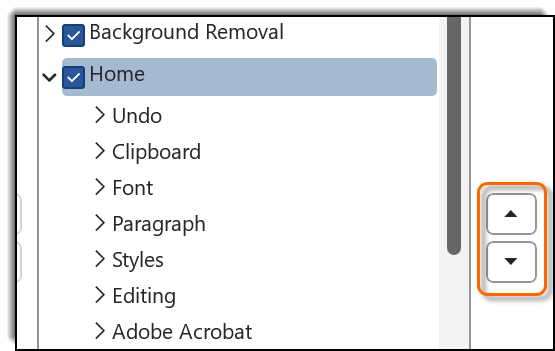
Use the up and down arrows to reorder the tabs:
To add and modify a custom tab group:
- Select a tab on the right. The custom tab you add will show up after the selected tab.
- Below the list of tabs, click the New Tab button:
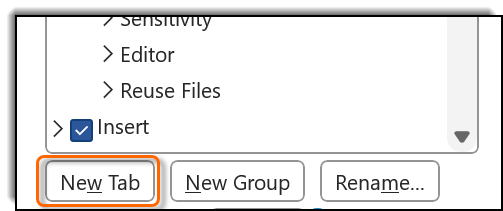 Note that a new group is automatically created as well. This is because commands must be added to groups, not tabs,
so all tabs must have at least one group.
Note that a new group is automatically created as well. This is because commands must be added to groups, not tabs,
so all tabs must have at least one group.
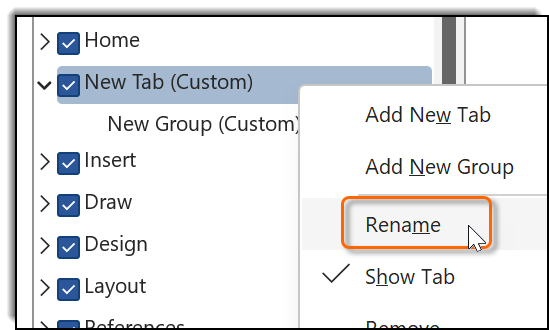
- Do one of the following to rename the tab:
- Right-click the new tab and select Rename:
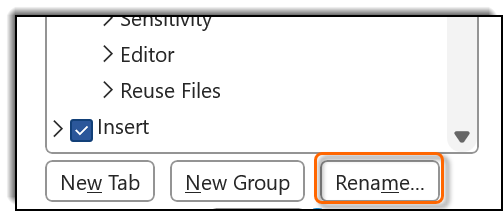
- Select the tab and click the Rename… button below the list of tabs:
- Right-click the new tab and select Rename:
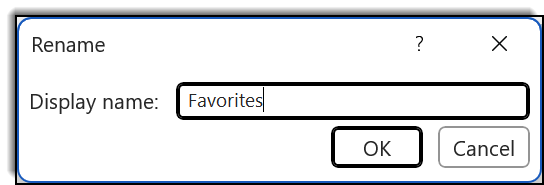
- Rename the group in the same way; that is, by right-clicking the group or selecting the group and clicking
Rename. Then enter the new name for the group in the Rename dialog:
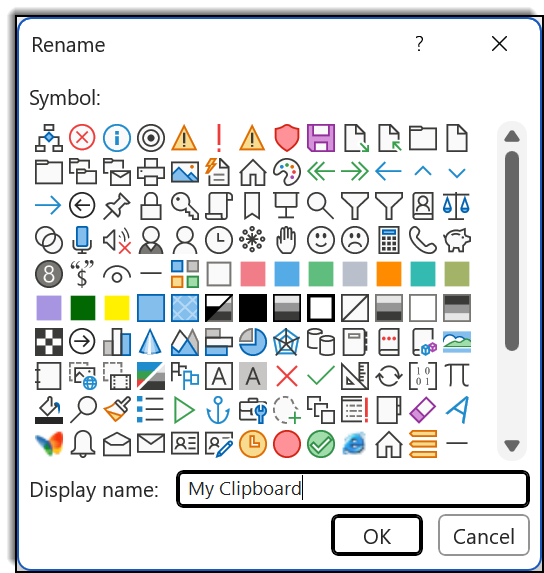 You also have the option of selecting a symbol to represent the group.
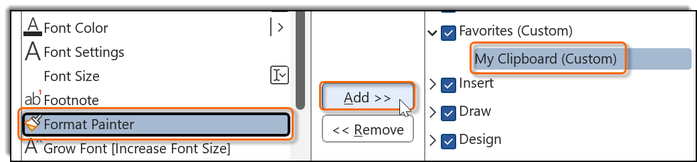
- To add a command to the group, select the command on the left and the group on the right, and click Add >
>:
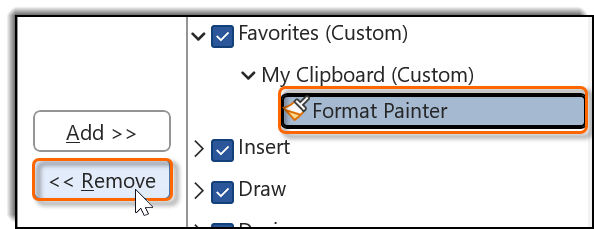
- To remove a command from the group, select the command on the right, and click < < Remove:
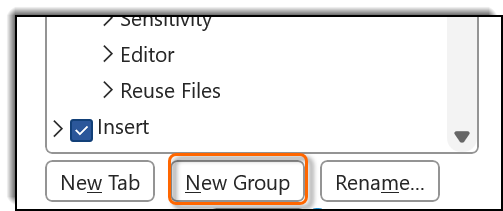
- To add a new group to an existing tab, select the tab in the dialog and click the New Group button:
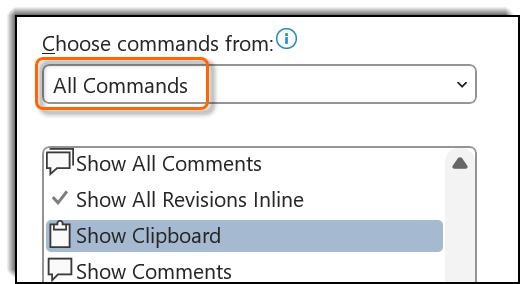
- By default, only the popular commands are shown on the left. You can change this using the Choose commands
from dropdown. For example, you can show all commands by selecting All Commands:
- Here, we have added Format Painter, Paste Special, and Show Clipboard to
the custom My Clipboard tab:
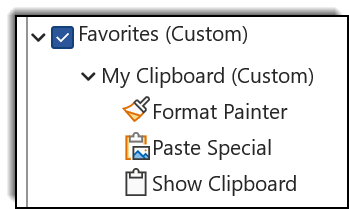 Although the tab and the group include “(Custom)” in this dialog, that won’t show up on the Ribbon.
Here’s what the tab will look like on the Ribbon:
Although the tab and the group include “(Custom)” in this dialog, that won’t show up on the Ribbon.
Here’s what the tab will look like on the Ribbon:

Reset the Ribbon to Default Settings
To reset the Ribbon to the default settings, click the Reset button. Select Reset only selected
Ribbon tab to reset a single tab or Reset all customizations to remove all custom tags and
groups:
